
1. Materials Needed:
•Hat
•Patch
•Needle
•Thread (matching the patch or hat color)
•Scissors
•Pins (optional)
•Thimble (optional)
•Fabric glue (optional, for temporary holding)
40% OFF
· LIMITED TIME ONLY
5%
off any re-order

June 10 2024
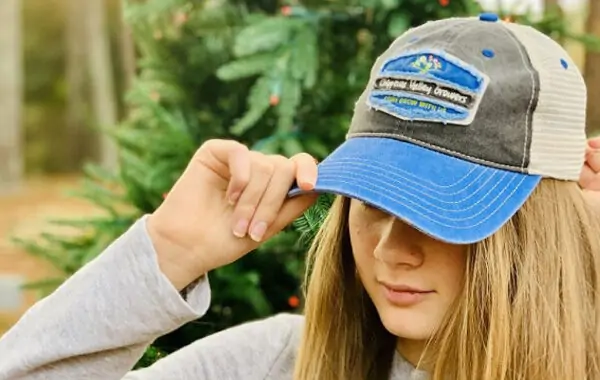
Sew-on hat patches are decorative or functional pieces of fabric that are attached to hats by sewing them on. These patches can be made from various materials such as embroidered fabric, leather, or other textiles, and they come in a wide range of designs, colors, and shapes. Here are some key points about sew-on hat patches:
•Hat
•Patch
•Needle
•Thread (matching the patch or hat color)
•Scissors
•Pins (optional)
•Thimble (optional)
•Fabric glue (optional, for temporary holding)
1. Choose the Placement
•Decide where you want the patch to be on the hat. Common places are the front center, side, or back.
2. Secure the Patch
•Temporary Adhesive: Use fabric glue to temporarily hold the patch in place. Let it dry as per the glue’s instructions.
•Pins: Alternatively, pin the patch in place if you prefer not to use glue.
3. Prepare Your Needle and Thread
•Thread the needle with enough thread to go around the patch at least twice. Knot the end of the thread.
4. Start Sewing
•Start from Inside: Insert the needle from the inside of the hat so the knot is hidden inside.
•Stitch Type: Use a basic running stitch, whip stitch, or blanket stitch around the edge of the patch. A whip stitch is often preferred for patches.
•Whip Stitch: Insert the needle through the edge of the patch and pull it through. Bring the needle around the edge and insert it again through the hat fabric, close to where the thread came out before. Repeat this process around the patch.
5. Secure the Patch
•Make sure to keep your stitches close together to secure the patch firmly.
•If the patch has corners or intricate edges, take extra care to sew around these areas neatly.
6. Finish Off
•Once you’ve sewn all the way around the patch, secure the thread with a knot on the inside of the hat.
•Trim any excess thread.
7. Optional: Reinforce
•For extra security, you can sew around the patch a second time.
•Use a Thimble: If the hat fabric is thick, a thimble can help push the needle through.
•Stitch Size: Keep your stitches even for a neat appearance.
•Thread Color: Matching the thread to the patch or hat makes the stitches less noticeable. Contrasting thread can be used for a decorative effect.
By following these steps, you'll have a nicely sewn patch on your hat that should stay secure and look great. Happy sewing!
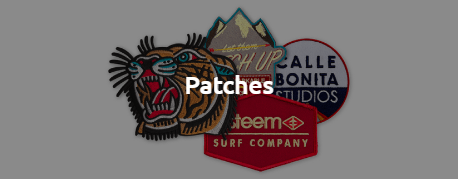
Nice customize is a manufacturer of custom patches online.It make creators can produce unique custom patches for all various of clothes.These patches just requires fewer MOQ(minimum order quantity) and lower price. No matter what you are stand for company,cafe, motorcycle club,fire department,clothing brand or military unit; we will provide you with professional customized patches, now contact us or create your product onlione.
Share:


 www.nice customize.com
 Call: 186 8863 4274
 Email: sales@nicecustomize.com
 Chat with an expert
Subscribe to our newsletter
Sign up to save big on all your custom projects
Promotions,customizing new products,tracking
order alerts,and more, delivered to your inbox
Enjoy 40% off your entire order,no code needed
5% off any re-order


Upload Your Artwork
Allowed extensions *.png *.jpg *.jpeg *.ai *.eps *.psd *.tif *.tiff *.pdf*.bmp

Thanks for your message.
I am Lisa, thank you for your interest in our products! This is the message number! [ ID M6015 ] We'll be in touch with you soon regarding the next steps. Usually we will reply you within hours. Please make sure to check your email for our reply. Our email address is "sales@nicecustomize.com" Thank you.